|
First I want to say I like using the Metric System of measurement because it’s so much easier than English units.
So I’ll give you a few definitions here first: 30cm (centimeters) = One Foot ... 100cm = 1m (meter) or just a
little bit longer than 3-feet or 1-yard.
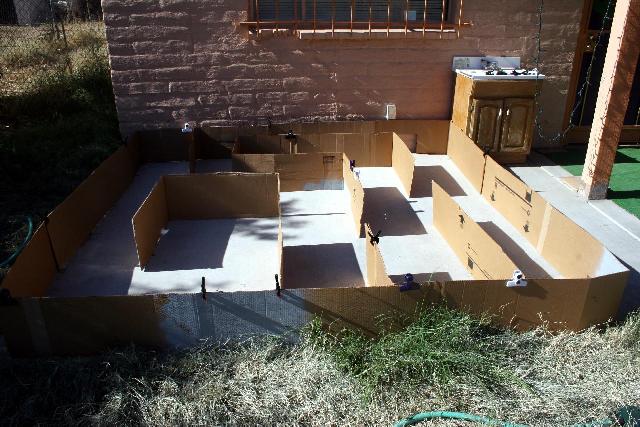
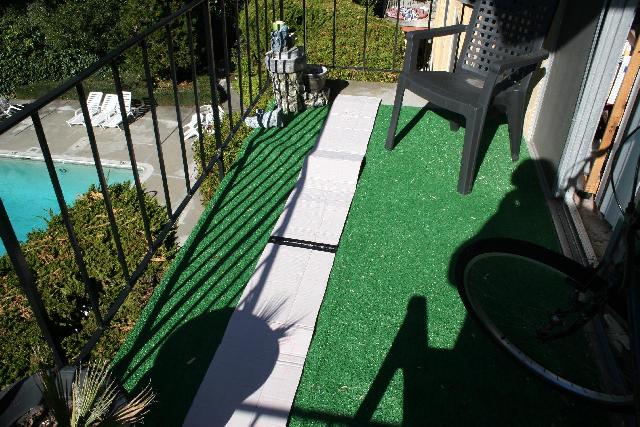
One of the really neat things about this gaming arena is that it can be folded-up and put out of the way under a couch for storage.
The Walls ... are typically pieces of old cardboard boxes cut about 30cm tall so the robots cannot see over the walls and cheat.
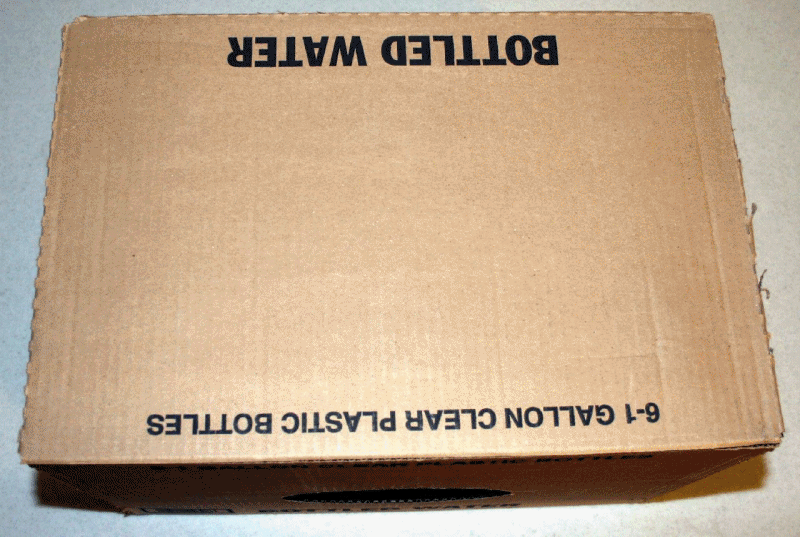
To make a gaming arena wall you find some old cardboard boxes and cut them open to lay flat on the ground.
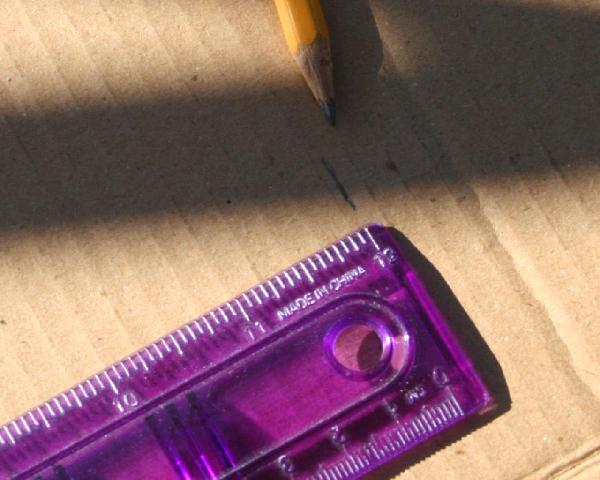
Using a ruler or meter stick (yard stick) and a pen or pencil mark a line 30cm (or 1-foot) from one edge to follow as you cut the
full length of the box for a wall panel as shown in the images below;

Do this with as many old cardboard boxes as you need to build an arsenal walls around your living room furniture or to make a maze in your driveway.
Decorating the walls is easy too. Find old used cans of paint ... house paint is best but almost any paint will work to start to create a style of castle or dungeon looking walls and floors.
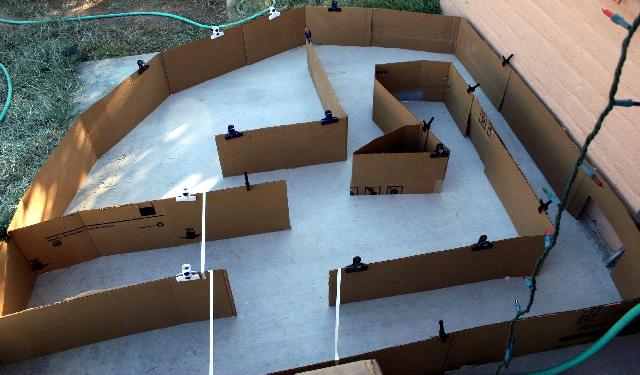
The maze doesn’t need to be very sophisticated, just have a few hallways to go from one HomeBase to the other HomeBase or enemy target.
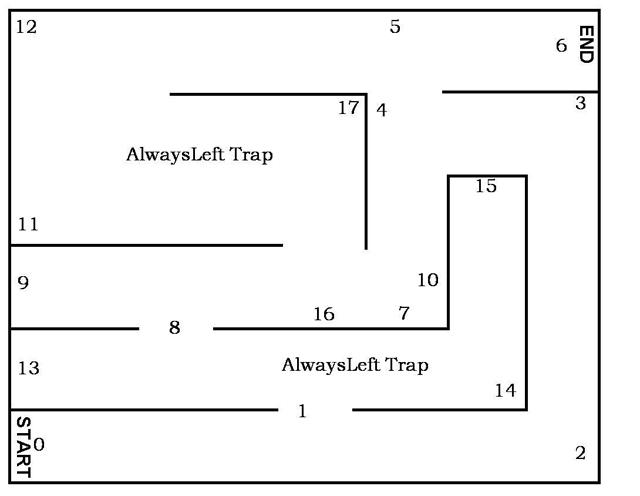
In the maze example above you can see a basic layout for a closed gaming arena. The numbers represent positions of clues that are
placed on the walls to aid the autonomous R2Pv1 robot to find its way to the enemy HomeBase. The maze image also shows the “AlwaysLeft”
traps set for initial prototype test & evaluation. See if you can identify the “AlwaysRight” traps. Try the maze sans (without) any
clues posted on the walls and experiment to learn how the two AL & AR rules succeed and fail so you can later identify traps with other
competition gaming arenas and hopefully get your AL/AR rule set for best play.
Here are examples of other gaming arena setups;
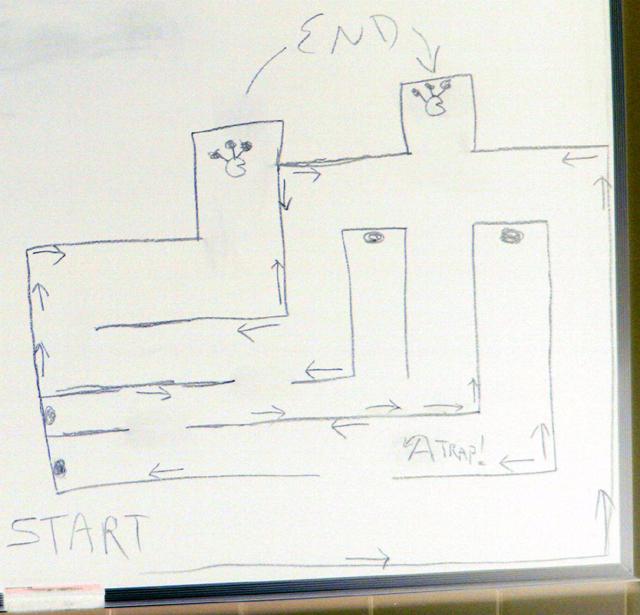

All these maze drawings are just slight variations of the same map I used for testing.
The Floor ... The narrowest hallways between the walls can be no less than 45cm or about 18-inches apart so if you need to add flooring for
your robot to drive on then you cut the cardboard flooring into 45cm wide strips. Use the same wall making tips just be sure they’re 45cm
or wider strips so the floor panels can help guide the base of the walls in their positions when making a closed maze.
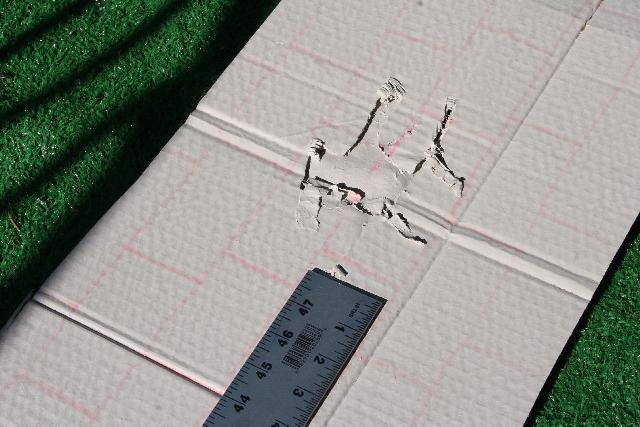
As you can see in this next picture I used some duct tape to tape-up the slot cut in the cardboard for the box corner ...
it really doesn’t matter much how crappy the walls look ... that ragged look just makes them more battle fatigued and
interesting when you’re sitting in the “Gunner’s Position” on top of the R2Pv1.
In the photo above you can see how ratty that piece of cardboard looks, but the old house paint adds strength and character to the spot.
You can also see that I used a 2” wide yard-stick to guide the almost dried-up felt-tip pen to draw the bricks ‘n blocks.
It’s easy to get the horizontal lines straight and free-hand draw the block separations to make them look good in dim light.
Colors don’t matter ... use whatever you got ... it’s just a gaming arena and the more ragged looking the walls the better to add
synthetic vision using the computer gaming console.
One note here is that light colored walls are easier to see other teams and MonsterBots, GuardBots etc... But using darker colors can
make playing the game even scarier sometimes.
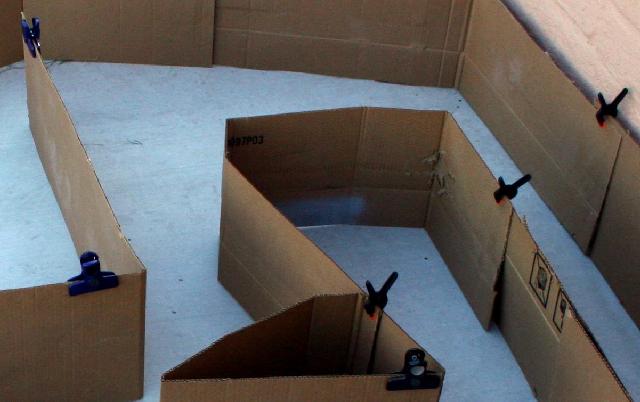
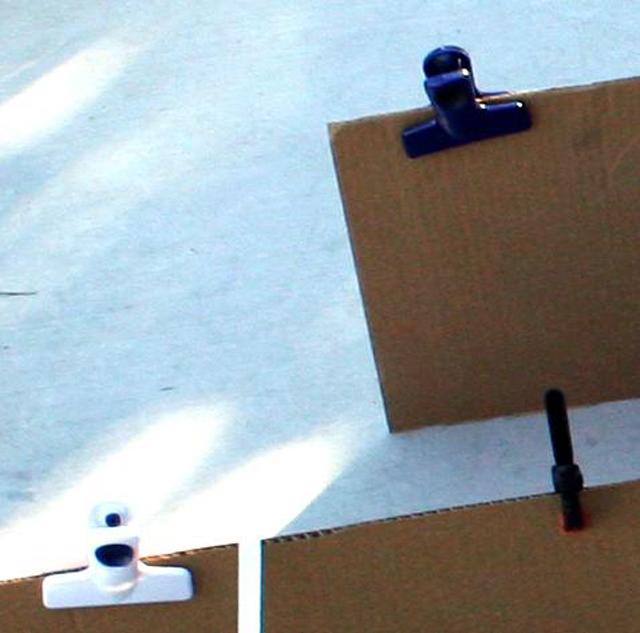
Once the gaming arena walls are made, they are simply stood-up and clipped together using a variety of different types of clips ...
like cloths line (cloths-pins) clips, or sandwich bag clips, or about any other type of clip as you can see in the images below;
The basic kit:
HomeBase ... The team HomeBase is at least 30cm wide and 1m long but in the better gaming arena layouts
it should be 1m wide by 1m long and wide to accommodate a multitude of operations by both team robots.
EnemyHomeBase ... The Enemy HomeBase is no different than the HomeBase other than it belongs to your enemy team.
I suggest that the HomeBases have multiple entrances/exits to accommodate speedy exits after grabbing the enemy flag/game piece.
MonsterBots ... There are of several types of MonsterBots (RCMB & AMB) and some will have a near permanent home
in the gaming arena while others travel all around the gaming arena as defined by each of the different types of MonsterBots.
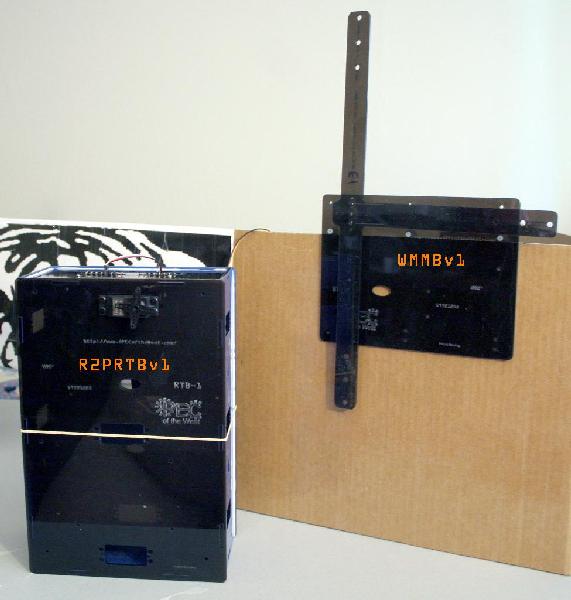
WallMounted MonsterBot bracket simply hangs on top of the wall and the panel it controls connects to the R2PRTBv1.
You have to make your cardboard panel or cardboard box, but that’s easy.
First we'll review one basic operation of how the WallMounted MonsterBot works using the following photographs;
The next few pictures show-off the WallMounted MonsterBots. The WallMounted MonsterBot is a creature
that hangs on a wall in one place and plugs into a R2PRTBv1 (Ready-to-Play RoboTargetBot v1) nearby to control a panel that either
flips up & down or back & forth or semi-rotating clues and targets or a secret door etc...
Big Bad Bob the Bandit RoboTargetBot Demo FPS View
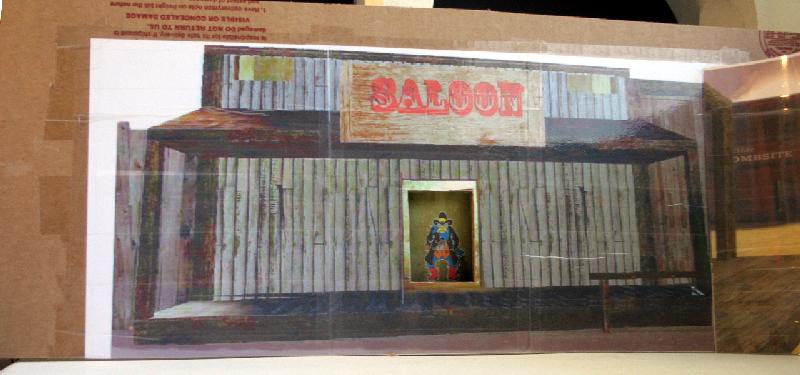
Big Bad Bob the Bandit RoboTargetBot Demo SetUp
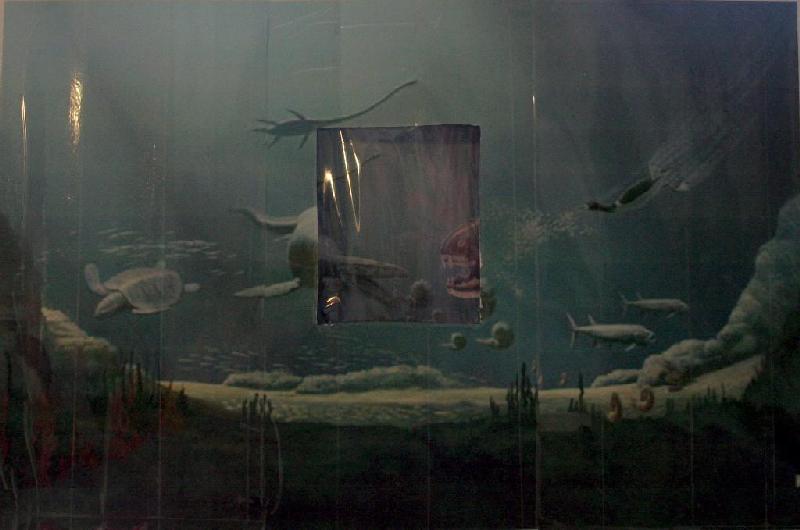
Submarine Dinosaur RoboTargetBot Demo FPS View
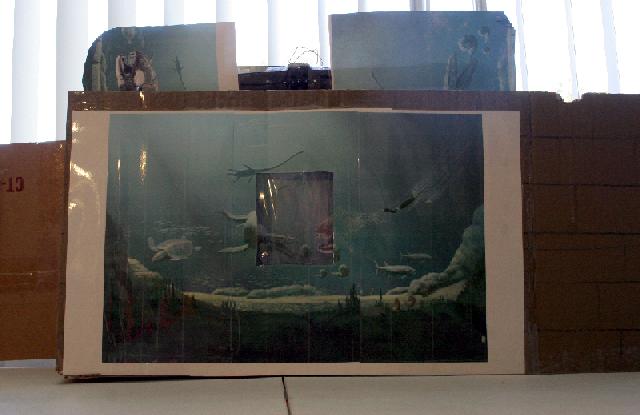
Submarine Dinosaur RoboTargetBot Demo SetUp
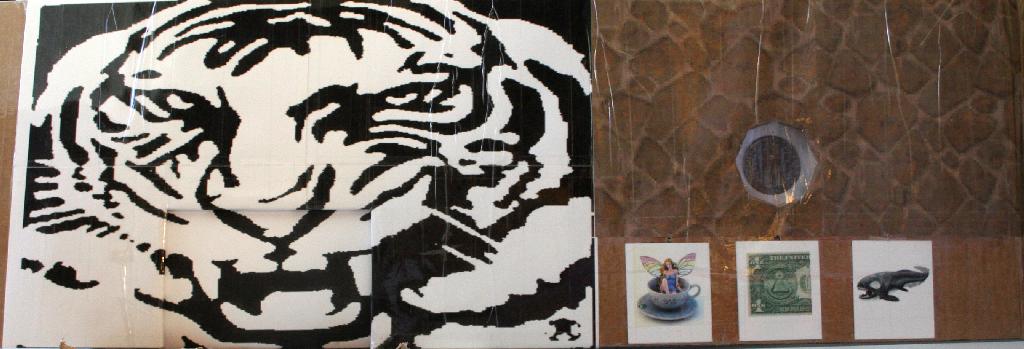
Secret Chamber of the Cat RoboTargetBot Demo FPS View
Secret Chamber of the Cat RoboTargetBot Demo SetUp
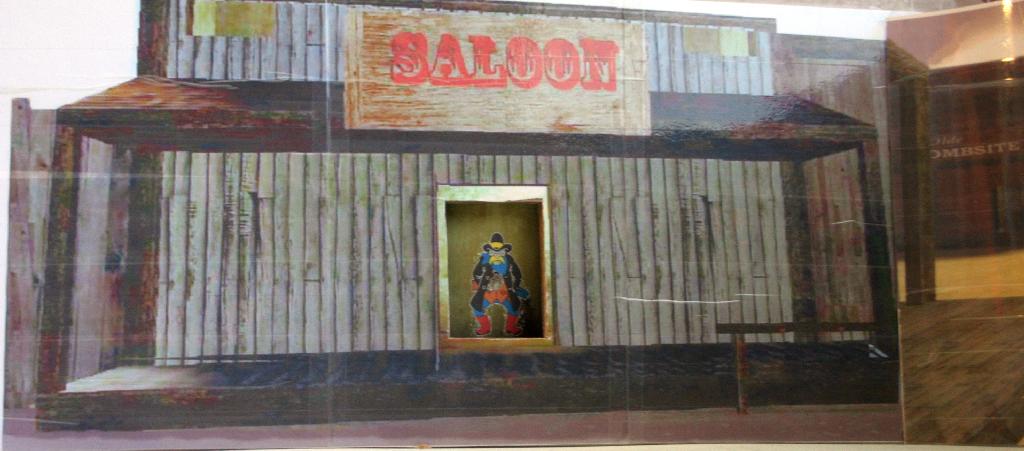
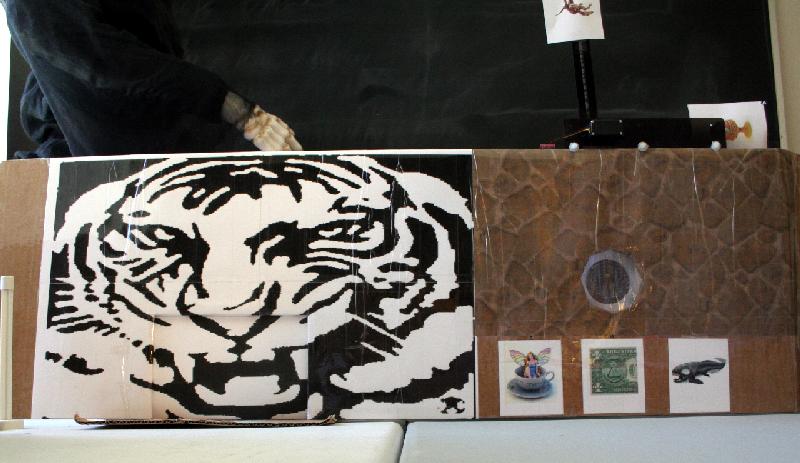
... as you can see to create the theme of a gaming arena/maze it is as simple as printing a large picture and taping it onto
cardboard wall space ... make any cut outs you might need and print another piece for the background of the cut outs.
I found that shipping tape is quick and easy and works very well to "plasticize" the targets for longer wear and tear.
still under construction ...
|